Step 5 - Configure Subscribe Pro-to-Magento Connection
Note
Your server must be publicly accessible or must whitelist the Subscribe Pro server IPs in order for Subscribe Pro to connect. You can find the IP addresses in the Platform under System > Payment Gateway Accounts > IP Addresses. We do not support connecting to servers that are protected by HTTP Authentication credentials.
-
Login to the Magento admin panel.
-
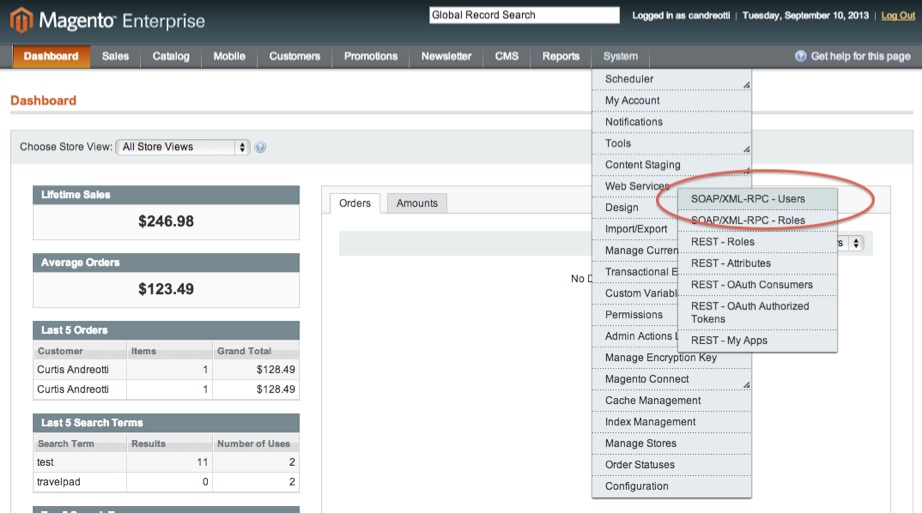
To create an API user you are going to navigate to System > Web Services > SOAP/XML-RPC - Users

-
Click on ‘Add New User’ to create a new user account.
You will need to create a new set of credentials. Please choose a username and API key which are secure. Please choose an appropriate name and email address. You will need to enter the username and key in the Subscribe Pro Admin UI in a later step, so please note these credentials.
-
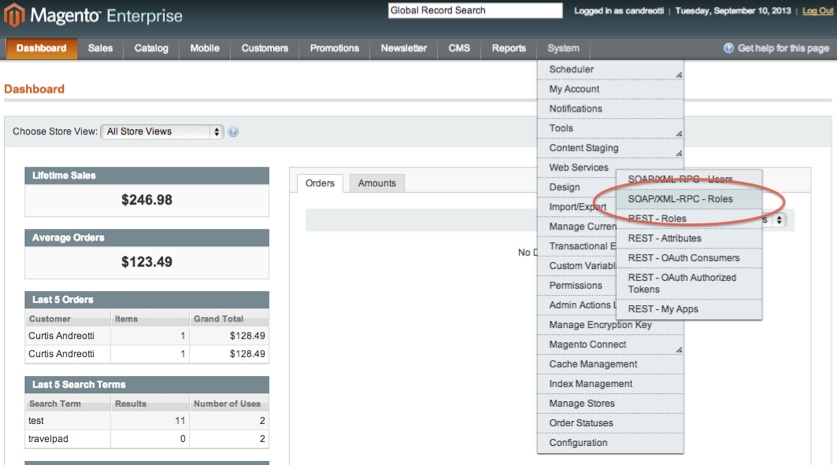
Navigate to System > Web Services > SOAP/XML-RPC - Roles

-
Click on ‘Create New Role’ to create a new user role.
-
Enter ‘SubscribePro’ in the role name.

-
Select the Role Resources tab, and in the dropdown select All.

-
Click on 'Save Role'
-
After the page refreshes choose the Role Users tab, and search for the user just created
-
Enter the username of the user created above (no spaces), add first name, last name and email, set status to active. Click ‘Save Role’ to add it to the role.

-
Now login to the Subscribe Pro Merchant App. Navigate to System > Configuration > Store Connection Settings.
-
Enter the SOAP/XML-RPC user credentials from Magento into the Magento SOAP API Username and Magento SOAP API Key fields.
-
Enter the secure URL of your Magento store, followed by '/index.php/api/soap' into the Magento SOAP API URL field. The full URL should look something like this:
https://www.demostore.com/index.php/api/soap
Security Notice
It is critical that you reference the secure version of the above URL. Make sure the URL starts with 'https'! Your customers' account and order details are sent from Subscribe Pro to your Magento store via the Magento API using this URL.
Next >> Step 6. Configure the Subscribe Pro Vault Payment Method (SP Vault)