Example Middleware to Send Custom Emails using Klaviyo
The subscribepro/klaviyo-serverless-example repository contains an example JavaScript function that can act as a middleware between Subscribe Pro's webhooks and Klaviyo. The example provided in this repository is quick, easy, and shows how Subscribe Pro's webhook data can be used in custom Klaviyo emails and Flows.
In the example provided, the serverless function can easily be deployed to Netlify and the code can be modified to suit any and all webhook events that are fired by Subscribe Pro (see Webhook Message Schema).
Instructions and additional details can be found in the repository.

Use Webhooks to Send Custom Emails via Klaviyo
Currently, Subscribe Pro's webhooks cannot be directly consumed by Klaviyo. However, with some additional effort, it is possible to use Subscribe Pro's webhooks with Klaviyo. Below is one example of the use of Klaviyo's "Flows" feature to include data from Subscribe Pro's webhooks within custom email templates.
Steps:
1. Build a receiver to listen for a webhook:
- Parse data
- Build API calls to Klaviyo (using their docs)
- Send API calls to create profiles, trigger events, and pass data
- [Add screenshots/code blocks, etc.]
2. Create a template
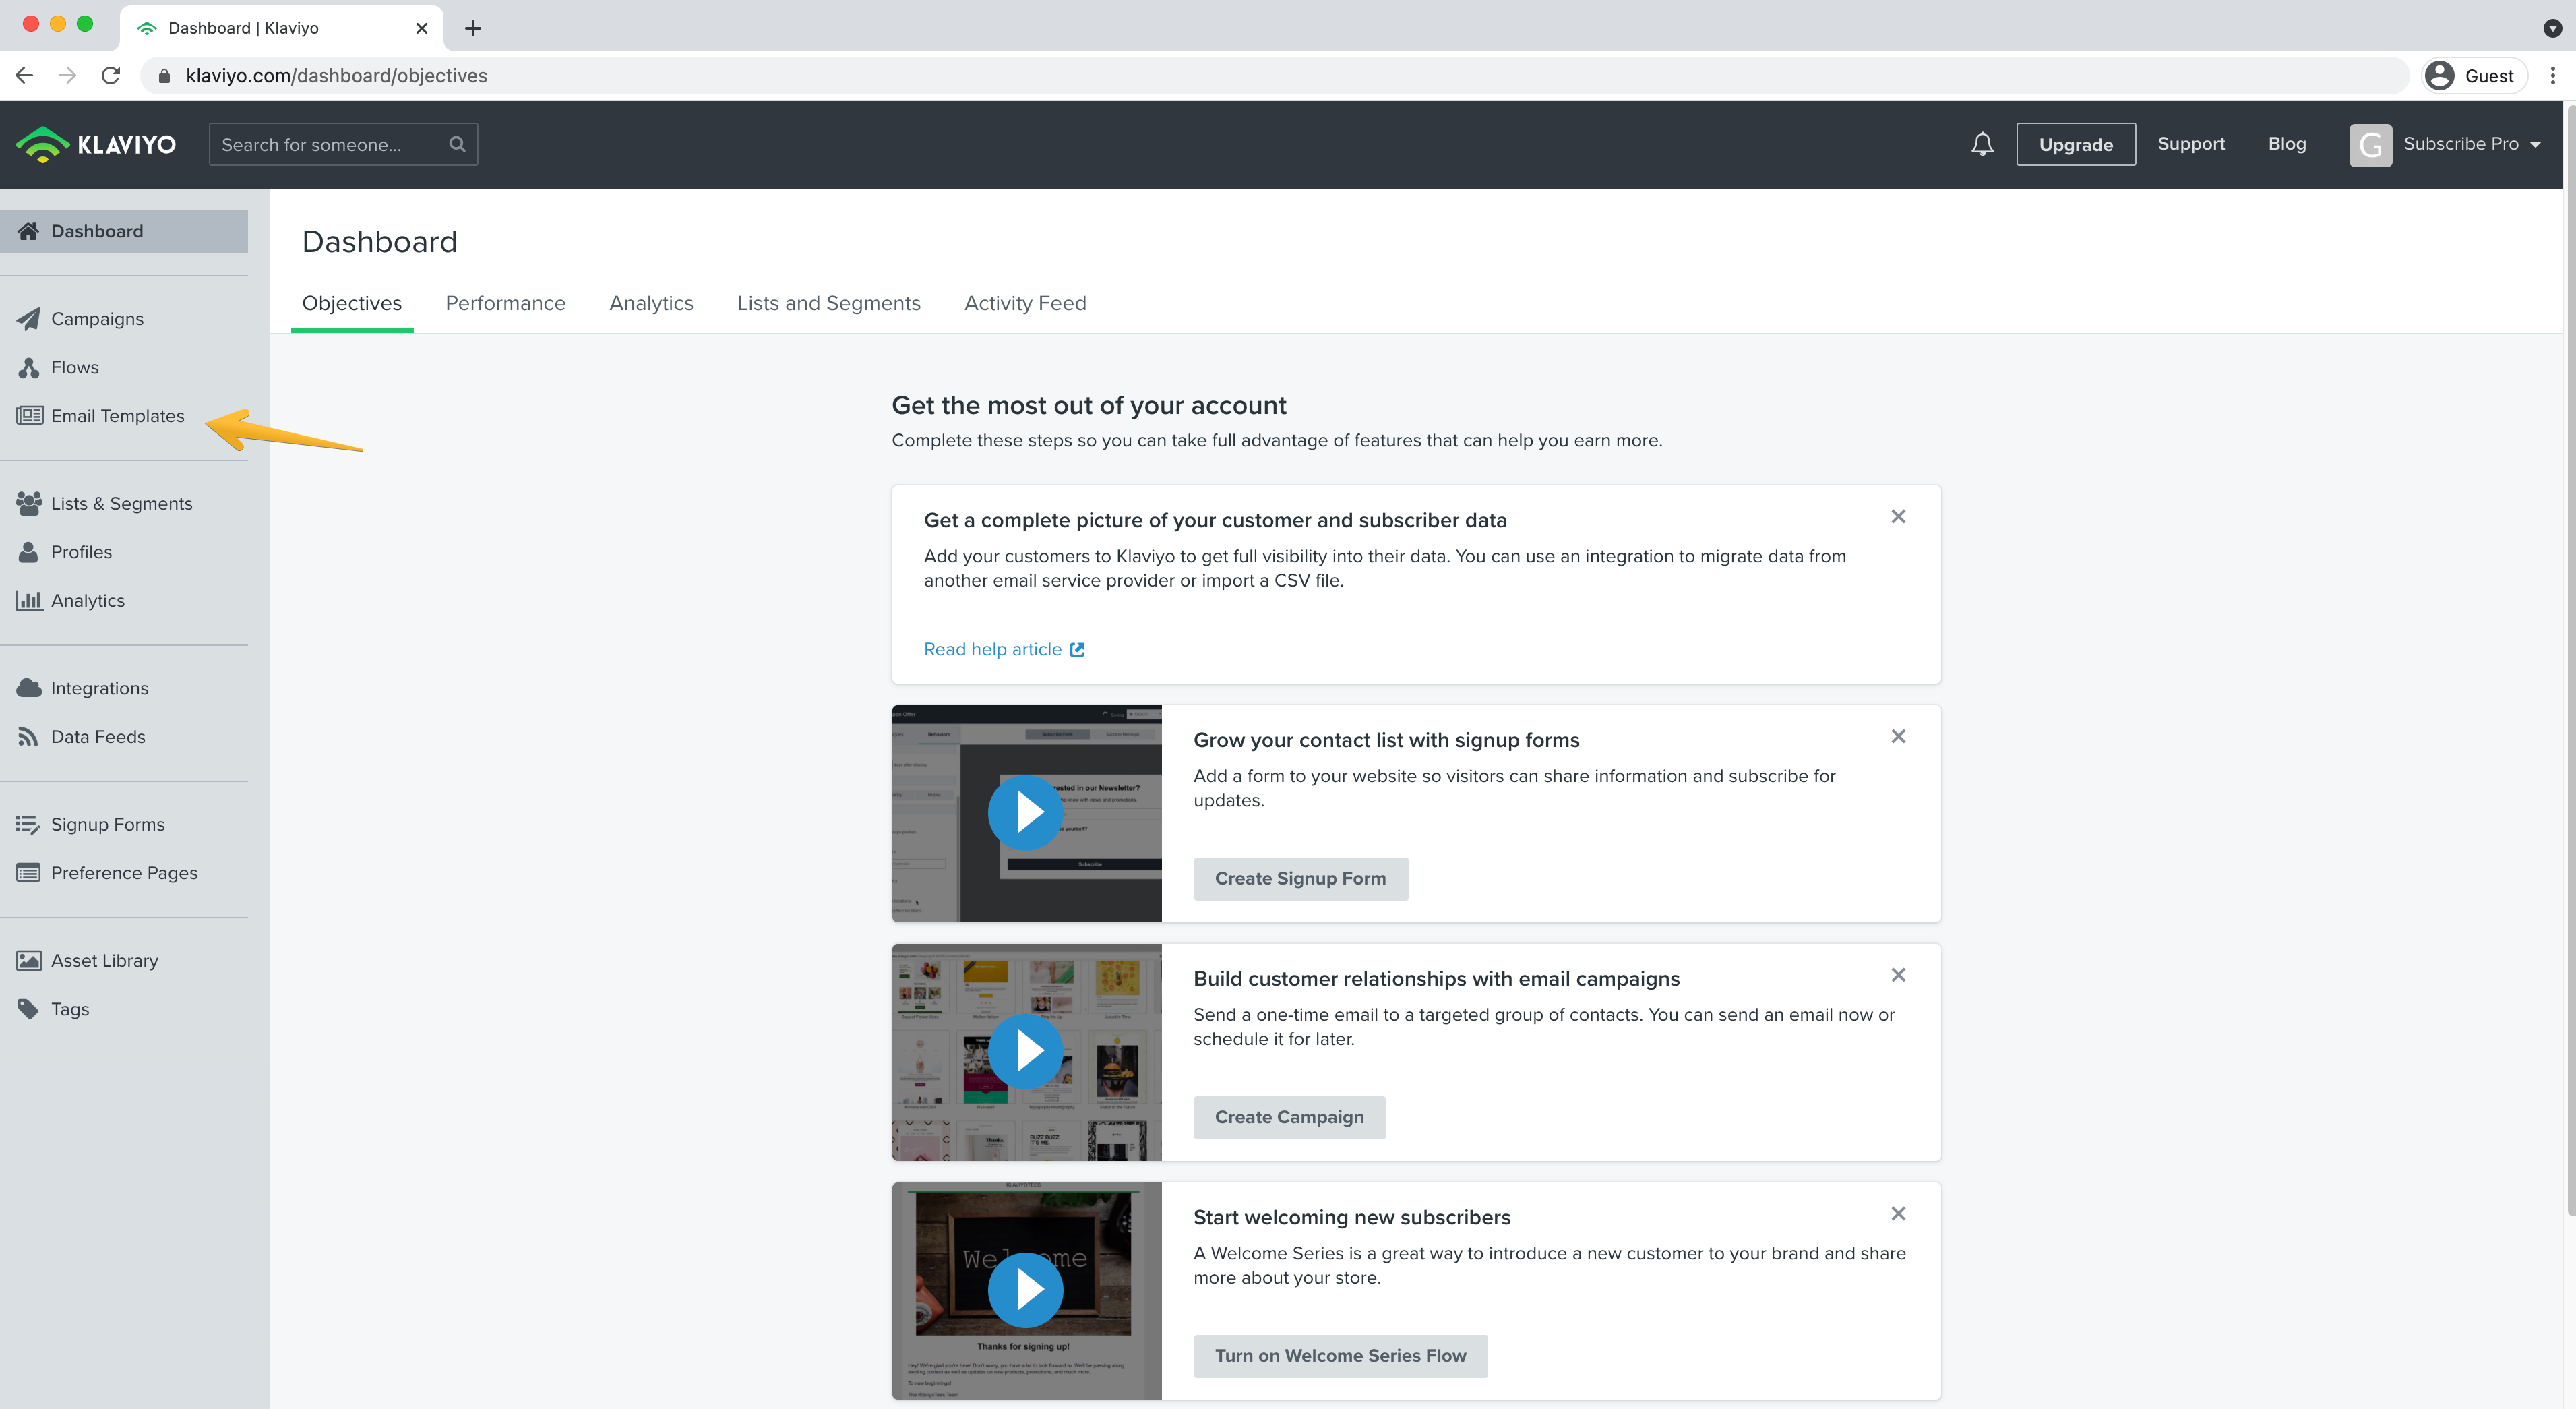
From the Klaviyo Dashboard, click Email Templates and then Create Template.

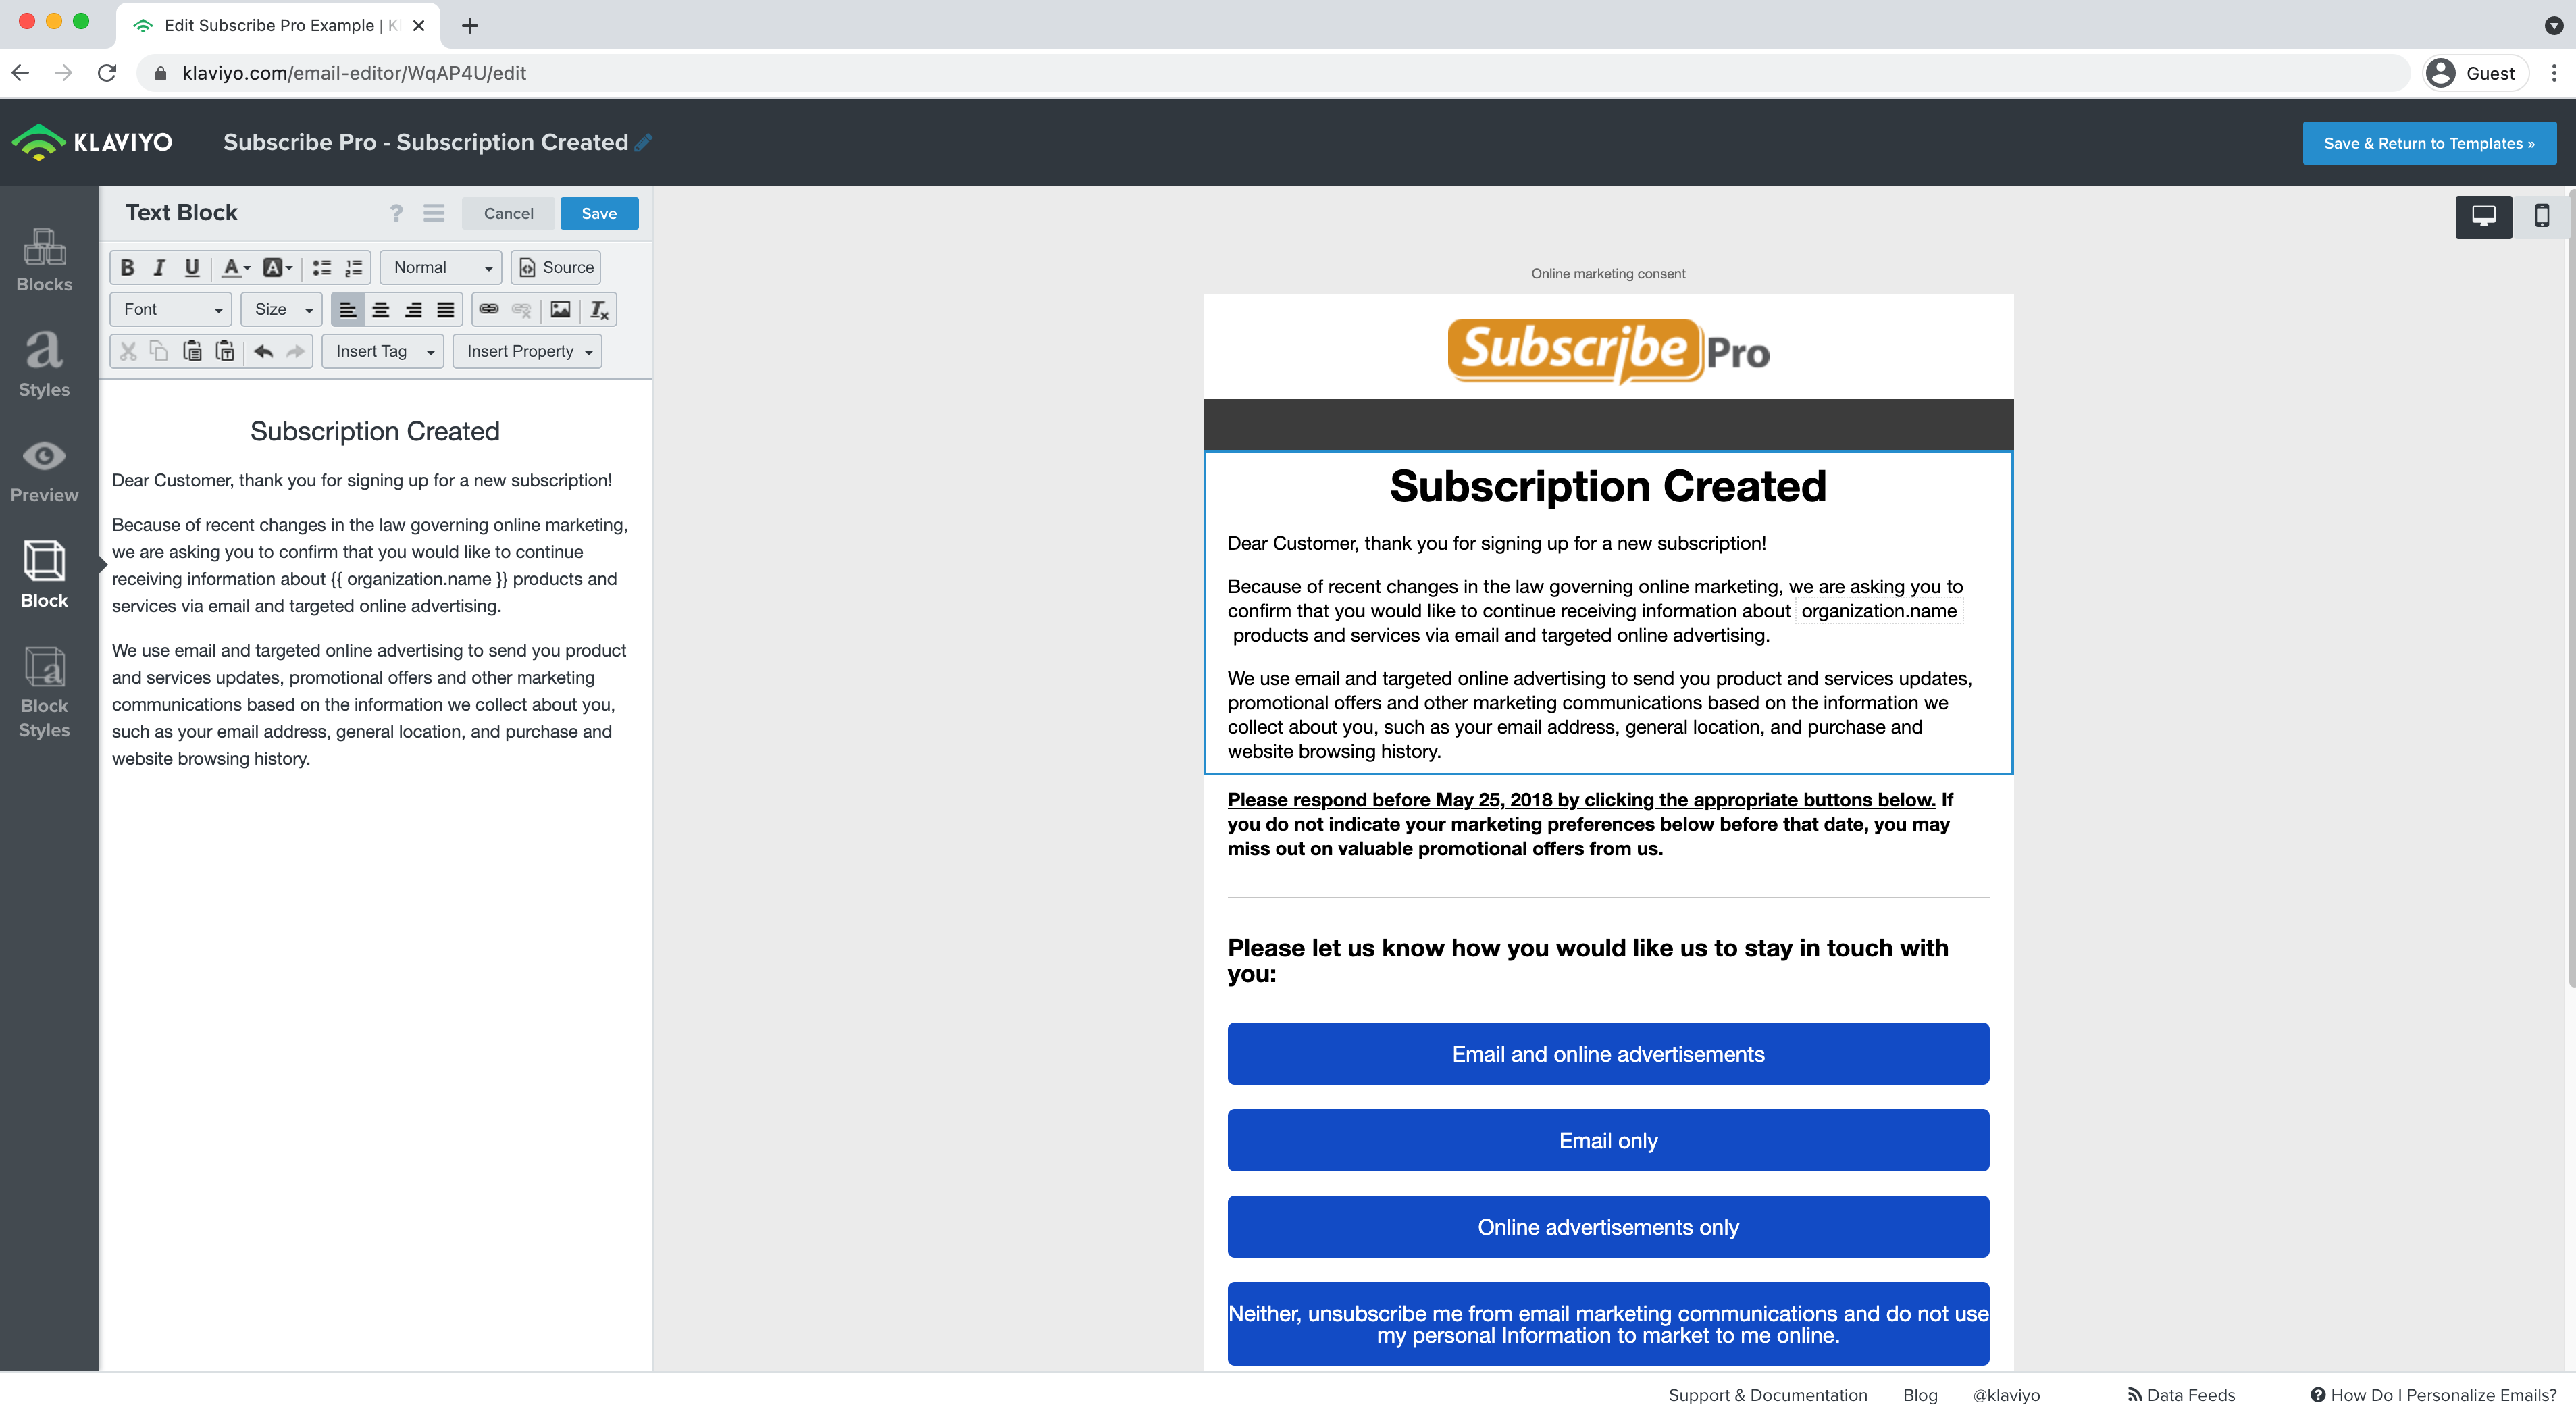
Choose a template. Name it and click Create Template. For this example, we will create our template to be used when a customer has signed up for a new subscription, so we'll call it "Subscription Created."
Design it however you'd like, including logos, copy, etc. Add our template variables...using Step 1...
3. Create a Flow in Klaviyo
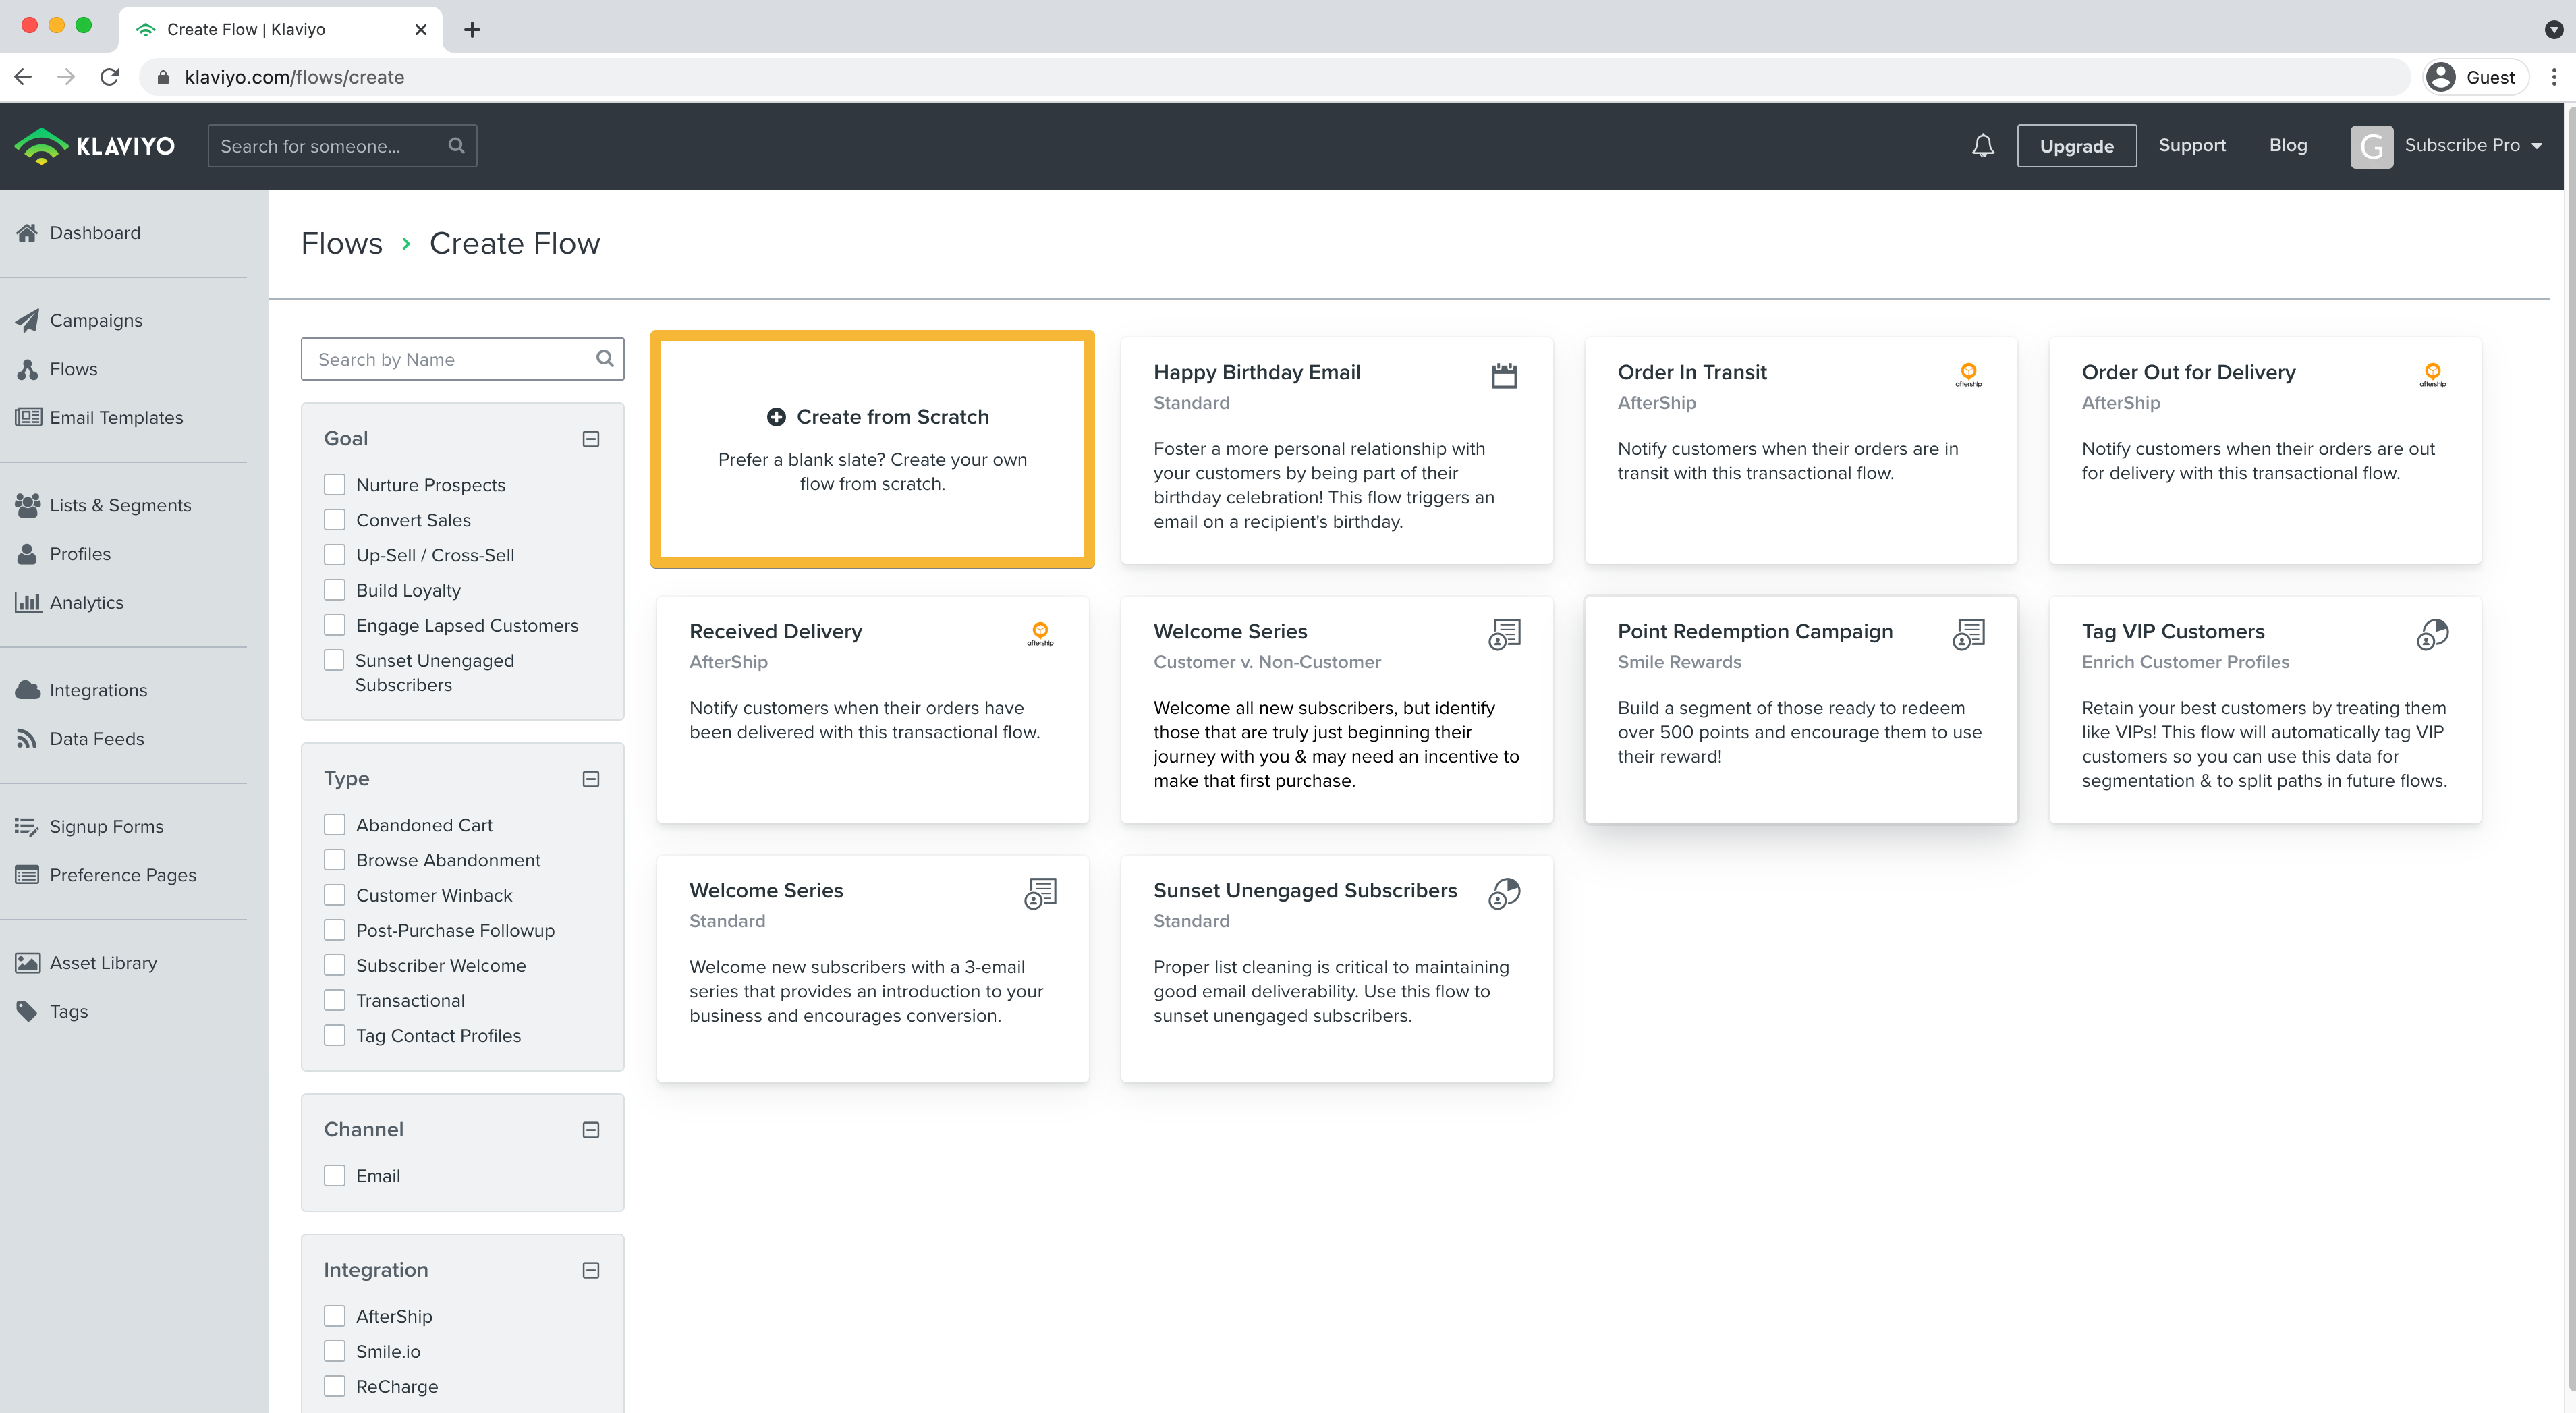
We should now see that the new template has saved. Next, click Flows on the left navigation bar and click Create Flow.

Click Create from Scratch, give this flow a name (ex: Subscription Created), and click Create.
Next, for the Trigger, choose Metric and select the event you created in Step 1.
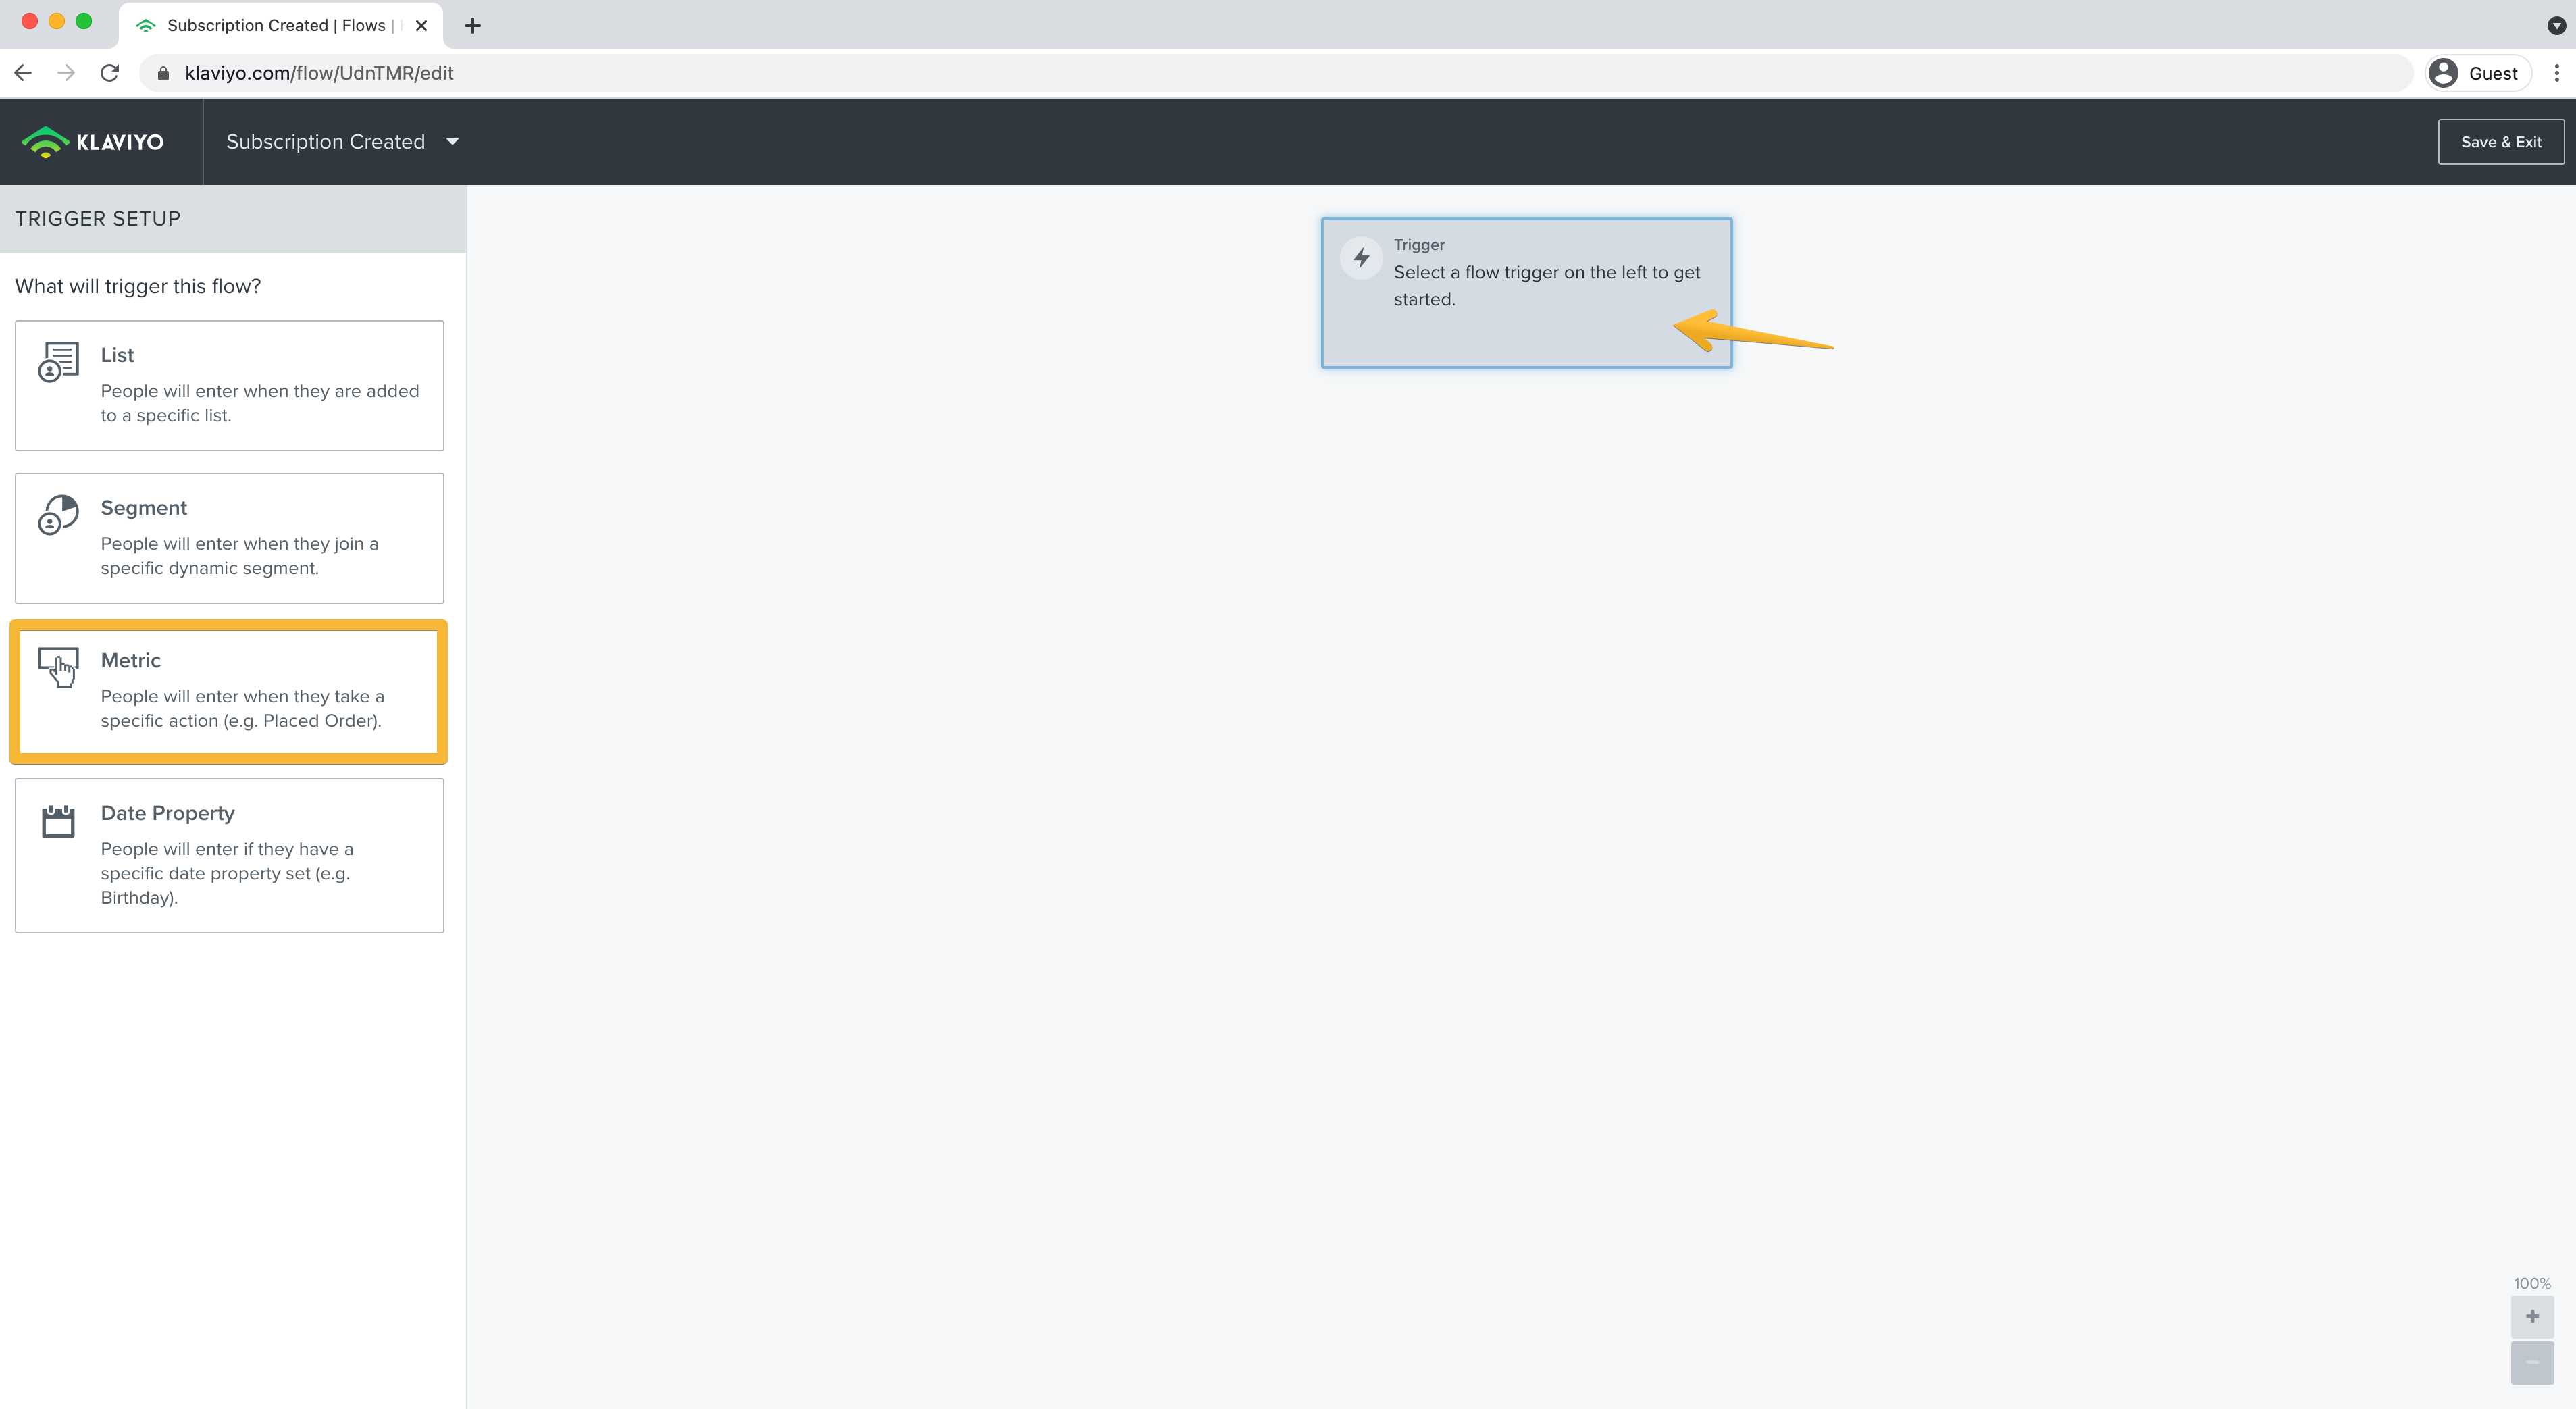
[ANOTHER SCREENSHOT]
^finish this step
4. Select the template from step 2 in that flow
- Test
- Add info about lists/segments
5. Repeat steps 1 through 4 for each case that you want covered by Klaviyo
